在前一篇中,讲解了PULL和PUSH模式的区别。
本节中主要是从无到有地讲解一下如何使用PULL模式来做一个报表。
因本文主要针对初学者,所以每个步骤都抓了图。
1.新建一个项目解决方案。如图:
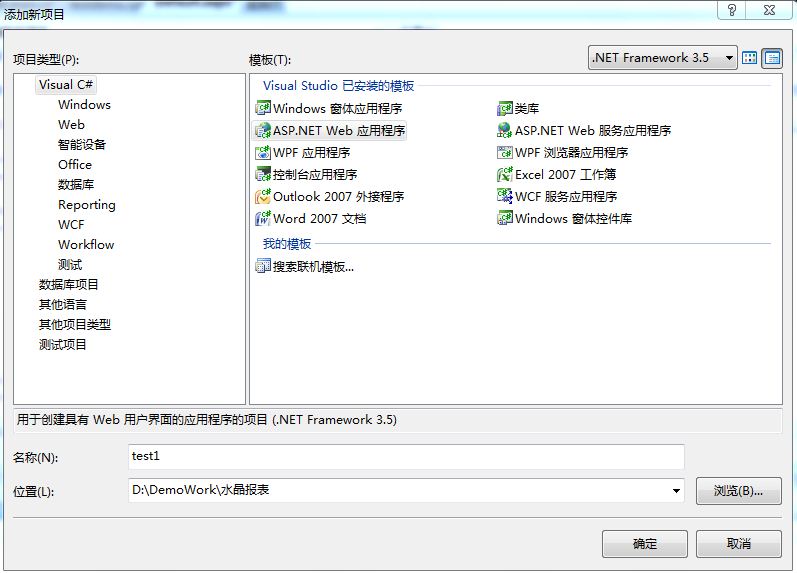
2.在项目上右击添加新项,参照如下图:

3.点击添加后出现如下对画框:
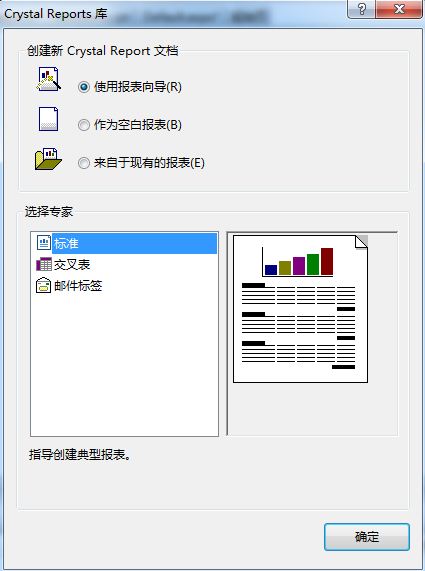
4.选择默认的选项即可,点击确定。
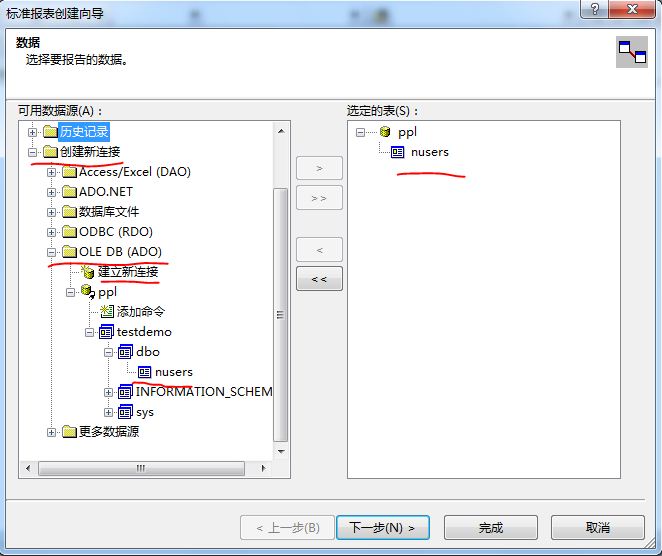
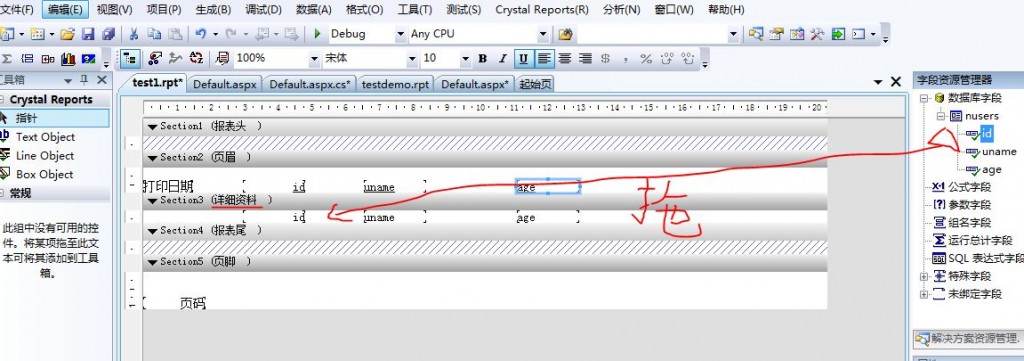
5.继续点击下一步添加字段或者直接完成。我在这里直接点击的完成。出现如下界面:
(我已经将图的右上角上的字段拖到了控件的详细资料中)
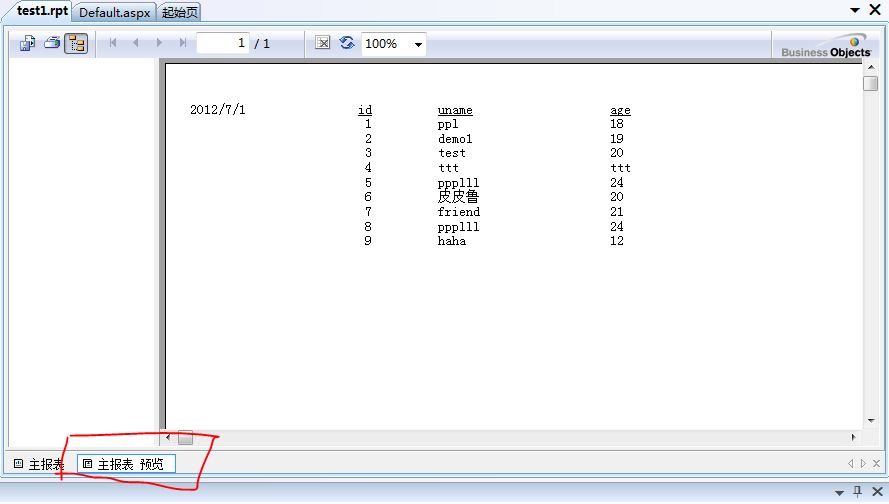
6.你可以点击下角的“主报表预览”查看一下效果。如图:
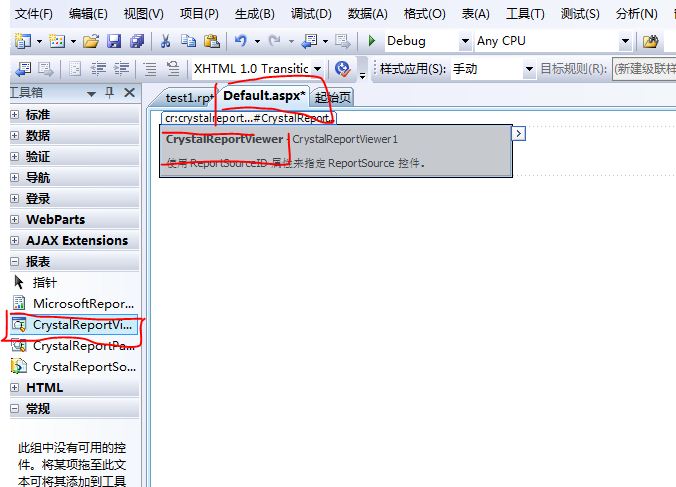
7.添加在web页面显示。首先打开项目里的web页面,在其中添加报表控件。
8.书写代码,代码上场(实质上代码也有好几种写法,不过原理基本一样,此处可直接照搬,等以后大家熟悉了再自行尝试吧)。代码如下:
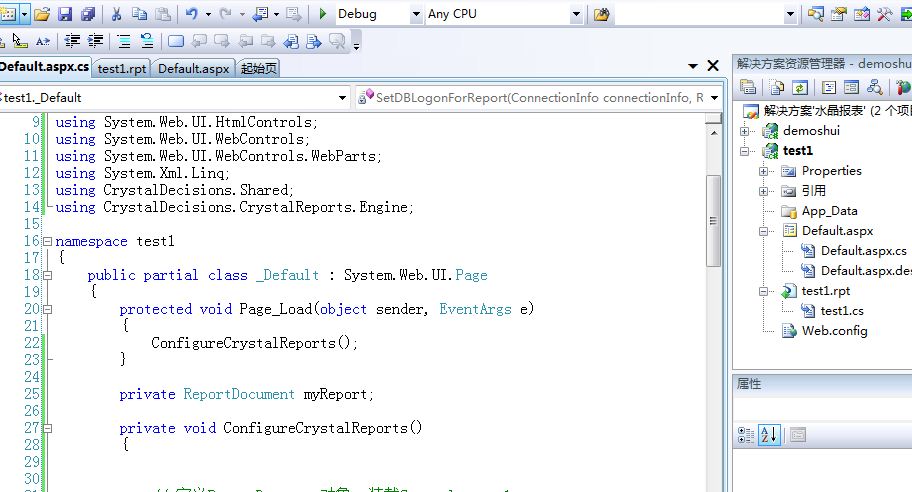
代码片段:
using System;
using System.Collections;
using System.Configuration;
using System.Data;
using System.Linq;
using System.Web;
using System.Web.Security;
using System.Web.UI;
using System.Web.UI.HtmlControls;
using System.Web.UI.WebControls;
using System.Web.UI.WebControls.WebParts;
using System.Xml.Linq;
using CrystalDecisions.Shared;
using CrystalDecisions.CrystalReports.Engine;
namespace test1
{
public partial class _Default : System.Web.UI.Page
{
protected void Page_Load(object sender, EventArgs e)
{
ConfigureCrystalReports();
}
private ReportDocument myReport;
private void ConfigureCrystalReports()
{
// 定义ReportDocument对象,装载Crystalreport1.rpt
myReport = new ReportDocument();
string reportPath = Server.MapPath("test1.rpt");
myReport.Load(reportPath);
//定义水晶报表的数据库连接信息
ConnectionInfo connectionInfo = new ConnectionInfo();
connectionInfo.DatabaseName = "testdemo";
connectionInfo.UserID = "sa";
connectionInfo.Password = "sa";
connectionInfo.ServerName = "ppl";
//将数据库信息传递给报表
SetDBLogonForReport(connectionInfo, myReport);
//把模板对象赋给报表前端呈现控件CrystalReportViewer1
CrystalReportViewer1.ReportSource = myReport;
}
private void SetDBLogonForReport(ConnectionInfo connectionInfo, ReportDocument reportDocument)
{
Tables tables = reportDocument.Database.Tables;
foreach (CrystalDecisions.CrystalReports.Engine.Table table in tables)
{
TableLogOnInfo tableLogonInfo = table.LogOnInfo;
tableLogonInfo.ConnectionInfo = connectionInfo;
table.ApplyLogOnInfo(tableLogonInfo);
}
}
}
}
运行效果如下:
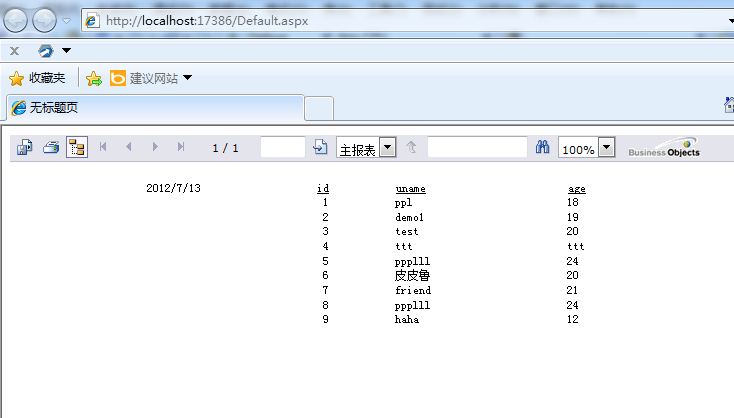
很简单吧,呵呵。
通过更改代码里的数据库连接,可以切换到不同的数据库上去
前提是,目标库中用到的表名及结构要是一样的。
分享到:


相关推荐
e表号称水晶报表杀手,它是一个功能强大的Web报表工具,使用e表可使复杂报表的设计简单化,以往难以实现的报表可以轻松实现,避免了大量的复杂SQL编写以及编程来准备数据,报表设计的效率大大提高。 e表是纯 .NET的...
水晶报表VS2015-VS2017( CRRuntime_32bit_13_0_25.msi )安装包及注册DLL命令工具,绝对可以用
水晶报表的使用--vs2003,水晶报表的使用--vs2003
水晶报表函数大全--数字函数篇.我觉得比较实用的东东。。大家可以看一下。。。
Crystal Reports Xi水晶报表标准指南--Part3
Crystal Reports Xi水晶报表标准指南--Part4
Crystal Reports Xi水晶报表标准指南--Part2
pull模式水晶报表制作截图 简单 C#制作pull模式水晶报表制作截图 简单 C#制作pull模式水晶报表制作截图 简单 C#制作pull模式水晶报表制作截图 简单 C#制作pull模式水晶报表制作截图 简单 C#制作
C#水晶报表中文教程-非常全面 我现在都经常阅读参考
Crystal Reports Xi水晶报表标准指南-Part1
Crystal Reports Xi水晶报表标准指南-Part6
Crystal Reports Xi水晶报表标准指南--Part5
学习.NET的有用资料-水晶报表的制作参考资料.
水晶报表 pull push 源代码
水晶报表问题 数据显示有问题 有待解决 还望各位大侠帮帮忙 谢谢了 aaaaaaa
内有水晶报表的多种应用的例子,上传分享 上传分享上传分享上传分享
特别详细的 教程,包你0起点,也可以学会 叫你体会到简单
水晶报表水晶报表水晶报表水晶报表水晶报表
简单易学,一步一步叫你初学PULL水晶报表
09-水晶易表-SAP Crystal Reports 水晶报表.pdf 10-水晶易表-2008功能介绍及使用培训.pdf 12-水晶易表-水晶易表介绍.pdf 13-水晶易表-四大学习法.pdf 14-水晶易表-入门制作提纲.pdf 14-水晶易表-最好的练习方案.pdf ...